External TPMS Sensors - All You Need To Know
External Tyre Pressure Monitoring System (TPMS) sensors are compact, wireless devices that screw directly onto your tyre’s valve caps to monitor air pressure and temperature in real time. They form part of a TPMS kit that alerts you if a tyre becomes underinflated, overinflated or starts to overheat.
Unlike internal sensors, which sit inside the tyre and require professional installation, external TPMS sensors are completely DIY. They’re easy to fit and remove - making them perfect for everyday drivers, caravan owners and fleet operators who want instant tyre protection without workshop downtime.
Each sensor communicates wirelessly with a display unit (mounted on your dashboard), giving you live readings for every tyre. The ability to track alerts you before a tyre issue becomes more serious, help you save costs (since underinflated tyres use more fuel and wear out quicker) and give you peace of mind on the road.

How External TPMS Sensors Work?
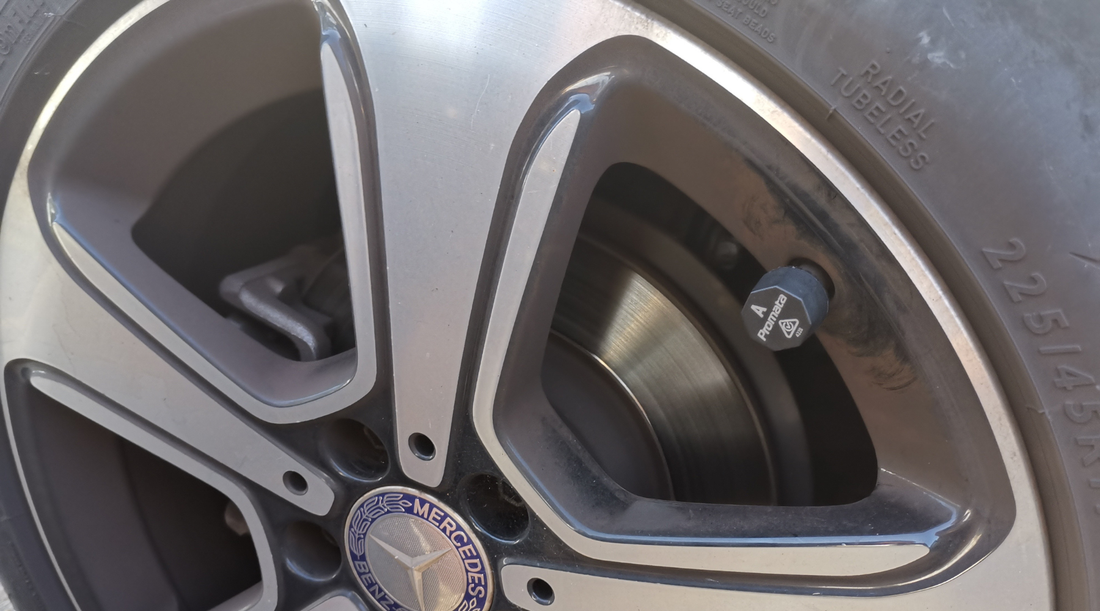
External TPMS sensors are designed to screw directly onto the tyre valve. They replace your tyre’s existing valve stem. Here’s how to install them step by step:
- When you screw the sensor onto the valve, the small pin (called the middle core) inside the sensor pushes against the tyre’s valve core.
- This opens the valve slightly, allowing the sensor to read the actual air pressure inside the tyre.
- The sensor then measures the tyre pressure and temperature and sends this data wirelessly to the in-cab display monitor in real time.
- Once the sensor is removed, the valve closes automatically, so no air leaks out.
Sensor Reading Issues
If your TPMS display shows a much lower reading than the actual tyre pressure (e.g. 52 PSI when the tyre is actually 107 PSI), it could be caused by one or more of the following:
- Sensor not fully tightened. The sensor may not be pressing the valve core properly, so it doesn’t get the full pressure. To solve this, simply hand tighten the sensor and ensure it’s screwed on firmly and straight.
- Valve core stuck or not opening fully. Dirt or corrosion can cause the valve pin to stick, so the sensor only gets partial pressure. To resolve, try pressing the valve pin manually (with care) or clean/replace the valve core.
- Sensor internal fault or pressure chip drifted. After long use or exposure to moisture/heat, the pressure reading inside the sensor may become inaccurate.
- Air leakage or seal issue. If the O-ring inside the sensor or valve isn’t sealing properly, it may slightly leak and show a lower pressure.
To see if the problem is with the sensor or the tyre/valve, please try swapping sensor between tyres to see if the low reading follows the sensor. If there’s a problem even when the sensor has been swapped onto another tyre, then the sensor is likely faulty. If it works fine on another tyre, the issue is with the valve or installation.
The best method to test is using a T-Valve and comparing the faulty with with a gauge or a faulty sensor with a good sensor.
Generally, anything over a 5 PSI difference between the recorded and actual tyre pressure is due to contact issues between the between the sensor and the valve stem. Please note it's normal for the pressure to fluctuate over the day since higher temperatures causes pressure to rise. Our TPMS sensors have a tolerance of 1.5 PSI.
Sensor Pairing
All Promata sensors come pre-paired to the display monitor so you can use it straight out of the box. However, if you need to get replacement sensors or a replacement display monitor, you’ll need to re-pair the new sensor to the display.
For external sensors this is easy and can be done DIY. The steps to do this is below:
- Enter pairing mode by pressing the settings button on our displays 5 times in a row.
- Cycle to the position you want the sensor to be paired.
- For LF (wireless pairing), all you need to do is hold the sensor close to the display and it pairs automatically.
- For non LF sensors, it’s a 2 step process. Once you’ve entered pairing mode and cycled to the position you want to pair, you’ll need to first shake the sensor for a few seconds (this will wake it up). Then screw onto your tyre valve stem and wait a few seconds for it to give a pressure reading. Once the pressure reading shows, simply save it and it will be successfully paired.
Video below shows how to do this for our main TPMS kits:
- Mata C (https://www.youtube.com/watch?v=EFMu_ddS_WY)
- Mata 1 (https://www.youtube.com/watch?v=ml8KSSCVAjo)
- Mata 2 (https://www.youtube.com/watch?v=PPMYl96gW2s)
Key Benefits of External TPMS Sensors
External TPMS sensors offer a convenient and effective way to keep your tyres in check without the need for complex installation. Designed for simplicity, reliability and real-time performance, they bring a range of advantages that enhance both safety and efficiency.
Easy DIY Installation
One of the biggest advantages of external TPMS sensors is how simple they are to install. They screw directly onto your tyre’s valve caps so there’s no need to remove the tyre or visit a workshop. You can even transfer them easily between vehicles if needed.
Hassle-Free Maintenance
With external sensors, maintenance is simple. When it’s time to replace the battery, there’s no need to remove the tyre - just unscrew the sensor cap and swap in a new battery.
Portability and Flexibility
External TPMS sensors can be used across different vehicles - 4WDs, trailers or trucks. If you change vehicles or add a trailer, you can easily move or pair more sensors. This flexibility makes them an excellent choice for drivers who value convenience and versatility.

Conclusion
External TPMS sensors are a simple and effective upgrade for your vehicle’s safety and efficiency. With easy DIY installation, real-time monitoring and instant alerts, they take the guesswork out of tyre care.
Whether you’re driving daily around town, towing a caravan, or managing a fleet, external TPMS sensors give you confidence every time you hit the road.


